Permissions
Learn how to change roles and their permission, how to create a custom role, how permissions can be combined, and how permissions are scoped.
The course permissions panel allows you to add or remove roles and change which permissions correspond to each role.
Read this guide for a general overview of roles and what permissions are available
You can access the permissions panel by navigating to your course management page and clicking on the Permissions tab.
By default each course has the roles Teacher, TA, and Student, each with a set of sensible default permissions.
Permissions and their scope
By default all the roles and permissions will apply to any assignment part of the course.
Within eJournal it is possible for multiple courses to share the same assignment. In this specific scenario it is possible for a user to be a Teacher in one course and a TA in another course.
In this scenario the user will be given the highest possible set of privileges. So for the scenario above, in that specific assignment the user will have the permission to view the grade history because that is something they can do as a Teacher despite not being able to do this in their capacity as TA in the other course.
Invalid permission combinations
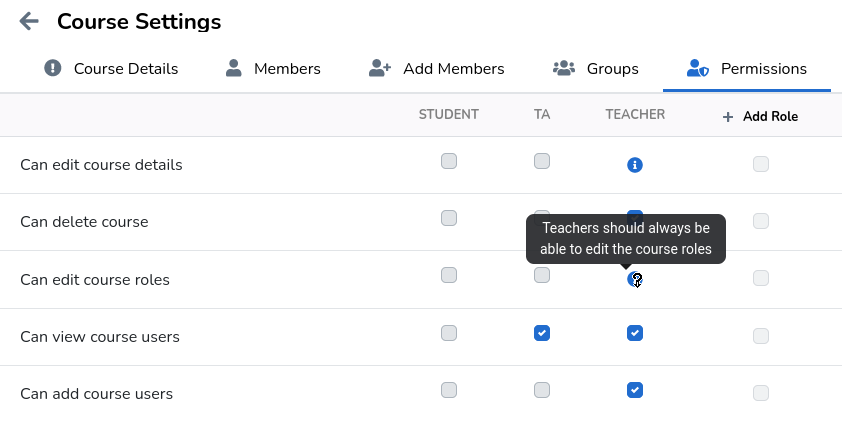
Some roles will always hold certain permissions. For example the Teacher role will always have the permission to edit a course's roles. This is to ensure there is always someone who can undo any changes made to the role configurations.
Similarly, some permission combinations can only be activated alongside one another. For example, a user with the permission to view all journals, will always also be able to view the journal of their own groups.
Generally this information is available on a per permission basis in the form of an icon with a corresponding tooltip.
Change a role's permissions
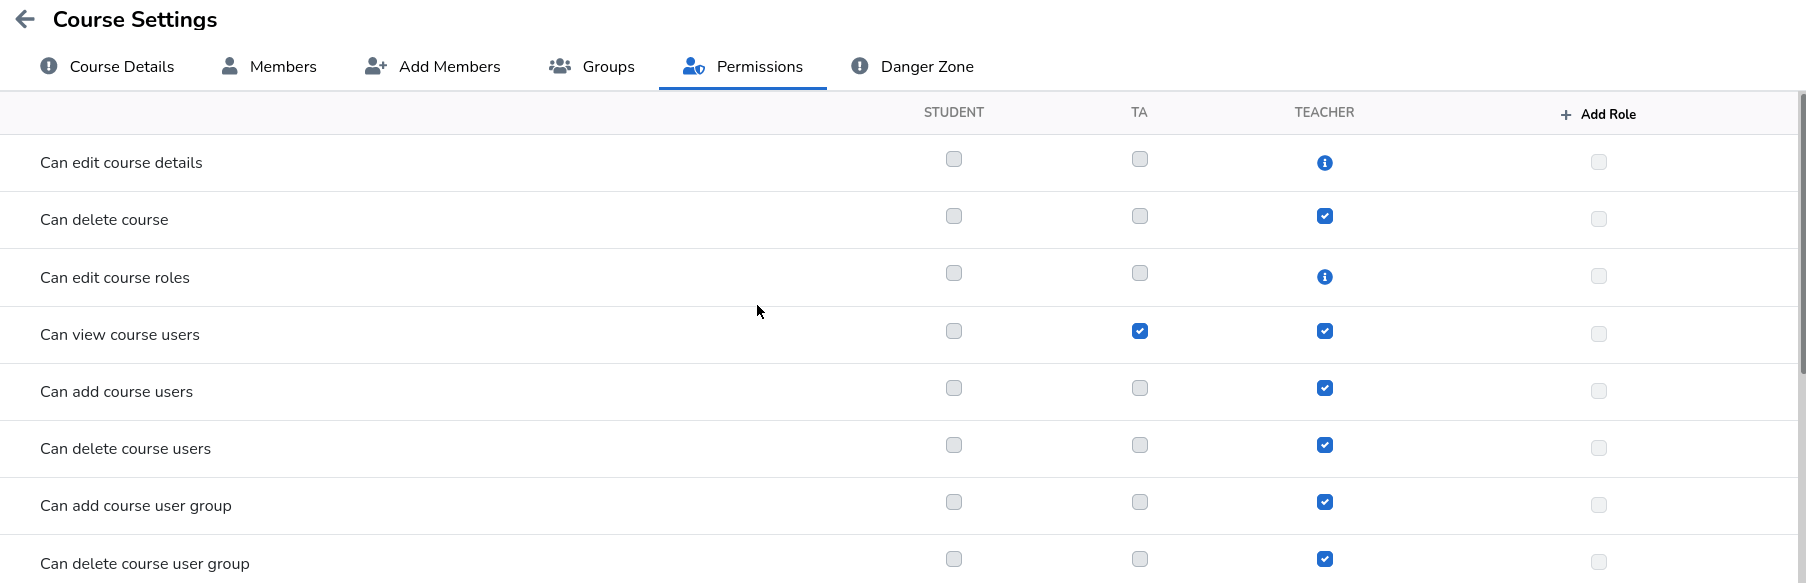
All permissions are displayed as rows. For each role, a column is displayed with checkboxes indicating whether that role has those permissions enabled or disabled.
If you would like to change a permission, simply enable or disable the corresponding checkbox and click the button to finalize your changes.
See what this process looks like
Create a custom role
It is possible to add additional roles to your course via the Add Role button.

This will present you with the New Role menu which asks for a Role name.
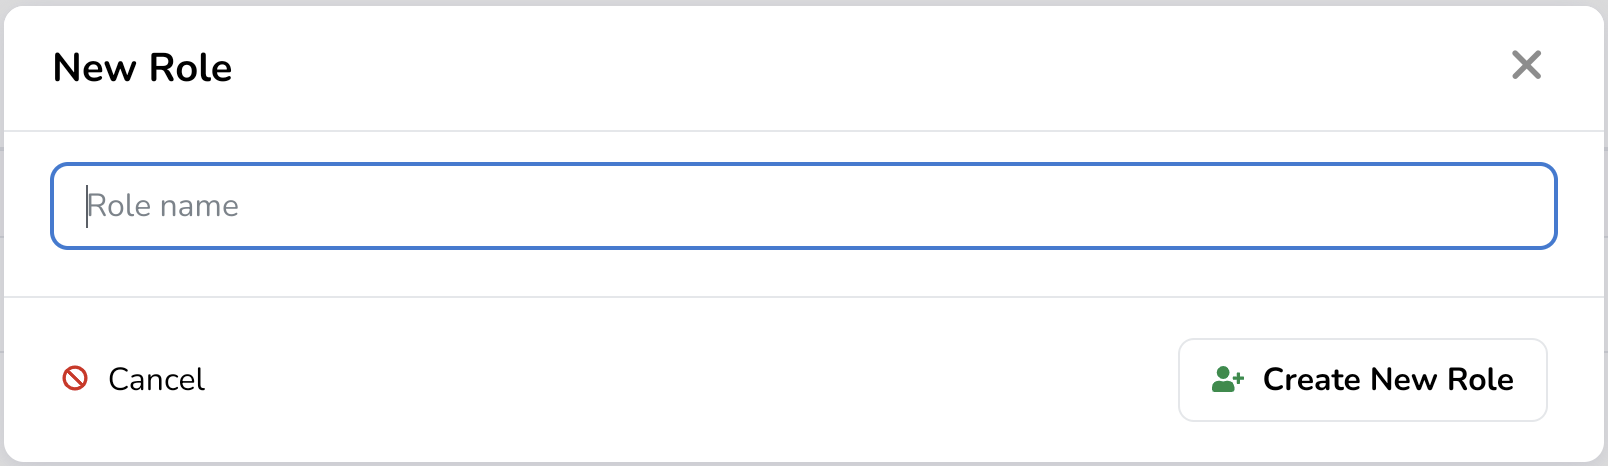
After providing a name add the new role to your course via the Create New Role button. The new role starts without any permissions.
Warning
Remember to click the button at the top of the page to finalize any of your changes.